





Exterior walls last decades longer when rainwater is managed as a system: deflect as much rain as possible with overhangs and drip edges, drain what gets past the cladding through a ventilated rainscreen cavity and a continuous drainage plane, and carry the water away from the base with gutters, downspouts, and proper grading. Walls do not fail because rain touches them — they fail because water stays trapped inside them. Every detail that helps water leave the wall quickly adds years to the cladding, the sheathing, and the structure behind it.
Most homeowners think of a wall as a solid barrier, but building science treats it as a water-management assembly. Rain hits the cladding, some of it gets through joints and cracks, and the wall’s job is to drain that water out and dry before the next storm. When the assembly cannot drain or dry — because there is no cavity, the drainage plane is torn, or flashing traps water — moisture accumulates, and rot, mold, efflorescence, and freeze-thaw damage follow. The fixes are mostly details, not major reconstruction, which is why this is one of the highest-value upgrades a homeowner can make.
Rainwater’s Four Routes Into Exterior Walls
Water reaches the inside of a wall through four mechanisms, and a good drainage design addresses all four. Bulk water is the obvious one: wind-driven rain forced through joints, cracks, and gaps in the cladding. Capillary action is subtler — water wicks upward and sideways through tiny pores in masonry, wood, and even paint, crossing gaps that look watertight. Air leakage carries moist air into the wall cavity, where it condenses on cold surfaces. Vapor diffusion moves moisture slowly through materials themselves, and while it is the slowest route, it matters in walls that cannot dry to either side.
Each route needs a different defense. Bulk water needs deflection and drainage. Capillary action needs a capillary break — a physical gap, such as a rainscreen cavity, that water cannot jump. Air leakage needs a continuous air barrier and careful sealing around penetrations. Vapor needs a drying path, which means at least one side of the assembly should be able to release moisture. A wall that handles only one route and ignores the others will still get wet; the longevity of the wall depends on the whole set of defenses working together.
What Makes a Rainscreen Cavity Protect Exterior Walls?
A rainscreen cavity is a continuous air gap, usually three-quarters of an inch to an inch deep, between the outer cladding and the water-resistive barrier on the sheathing. It protects the wall in three ways at once. First, it is a capillary break: water that penetrates the cladding cannot wick across an air gap to reach the sheathing. Second, it is a drainage plane: gravity pulls any water that gets in downward and out through weep openings at the base. Third, it is a ventilation channel: air entering at the bottom and exiting at the top dries the cavity between storms, and walls with ventilated cavities dry many times faster than walls without one.
The cavity only works if it stays open and connected. Furring strips or a drainage mat create the gap, and the gap must run continuously from the bottom of the wall to the top, with insect screen at the vents and weep holes at the base that are never caulked shut. A rainscreen behind brick veneer, fiber cement, wood siding, or stucco is now standard practice in wet climates, and retrofitting one during a re-cladding project is one of the most effective longevity upgrades available for an older home.
Deflection Details That Keep Rain Off the Wall
The cheapest water to manage is the water that never touches the wall. Roof overhangs are the first line of deflection: a generous eave keeps wind-driven rain off the upper wall, and in heavy-rain climates a wider overhang pays for itself in reduced cladding wear. Drip edges at the roof edge and at every horizontal trim piece throw water clear of the wall face instead of letting it run down the surface. Window and door head flashings, sloped sills, and drip caps over trim all do the same job at a smaller scale.
Check the deflection details by watching the wall during a storm. Streaks and stains below a window or a trim joint show where water is running instead of dripping clear, and paint peeling in a band below a horizontal surface usually means the drip edge is missing or too short. These are small, inexpensive fixes — a longer drip cap, a sloped sill, a re-caulked joint — but they remove a surprising amount of water from the wall over a year of storms.
- Wide roof overhangs shield the upper wall from wind-driven rain.
- Drip edges at eaves, sills, and trim throw water clear of the surface.
- Sloped window sills and head flashings keep water out of the frame joints.
- Kick-out flashings where a roof meets a wall prevent concentrated runoff from soaking the cladding.
- Keep cladding clear of soil and mulch so splash-back cannot wet the bottom courses.
Water-Resistive Barriers and Drainage Planes Behind Cladding
Behind every cladding sits the water-resistive barrier, or WRB — the building wrap or building paper that sheds water reaching past the outer layer. The WRB is the wall’s last line of defense, and it only works when it is continuous, lapped like shingles so upper layers drain over lower ones, and sealed at seams and penetrations. A torn wrap, a reverse lap, or an unsealed pipe penetration is a direct path for water to reach the sheathing, and these defects are invisible once the cladding goes on, which is why inspection before cladding matters so much.
Modern WRBs are increasingly vapor-permeable, which lets the wall dry outward as well as drain. Drainage mats — three-dimensional mesh products installed between the WRB and the cladding — create a reliable drainage gap even where furring strips are impractical, and they are widely used behind stucco and stone veneer, where a flat WRB alone can trap water. During any re-cladding project, specify a drainage mat or a vented rainscreen rather than letting new cladding sit flat against the wrap, because the gap is what gives the wall its drying capacity.
Flashing and Weep Details Around Windows, Doors, and Penetrations
Windows, doors, vents, and hose bibs are where walls leak, because every penetration breaks the cladding and the WRB. Proper flashing works like shingles: head flashing over the top of a window directs water outward, side flashing channels it down, and sill flashing with end dams catches what gets in and drains it out. The critical mistake is sealing the bottom of a window or a sill so water cannot escape — a wall detail must always have an exit at the bottom, because water that gets in and cannot leave is what rots the framing.
Weep holes serve the same purpose at the base of masonry walls. Brick veneer walls have a cavity behind them, and weep holes at the base — small openings left in the mortar joints — let that cavity drain. They must be kept clear of mortar droppings, paint, and caulk. During an inspection, look for staining below weep holes, which is normal and healthy, and worry instead when there are no weep holes at all or when they have been sealed shut by a well-meaning painter.
Gutters, Downspouts, and Ground Drainage That Finish the Job
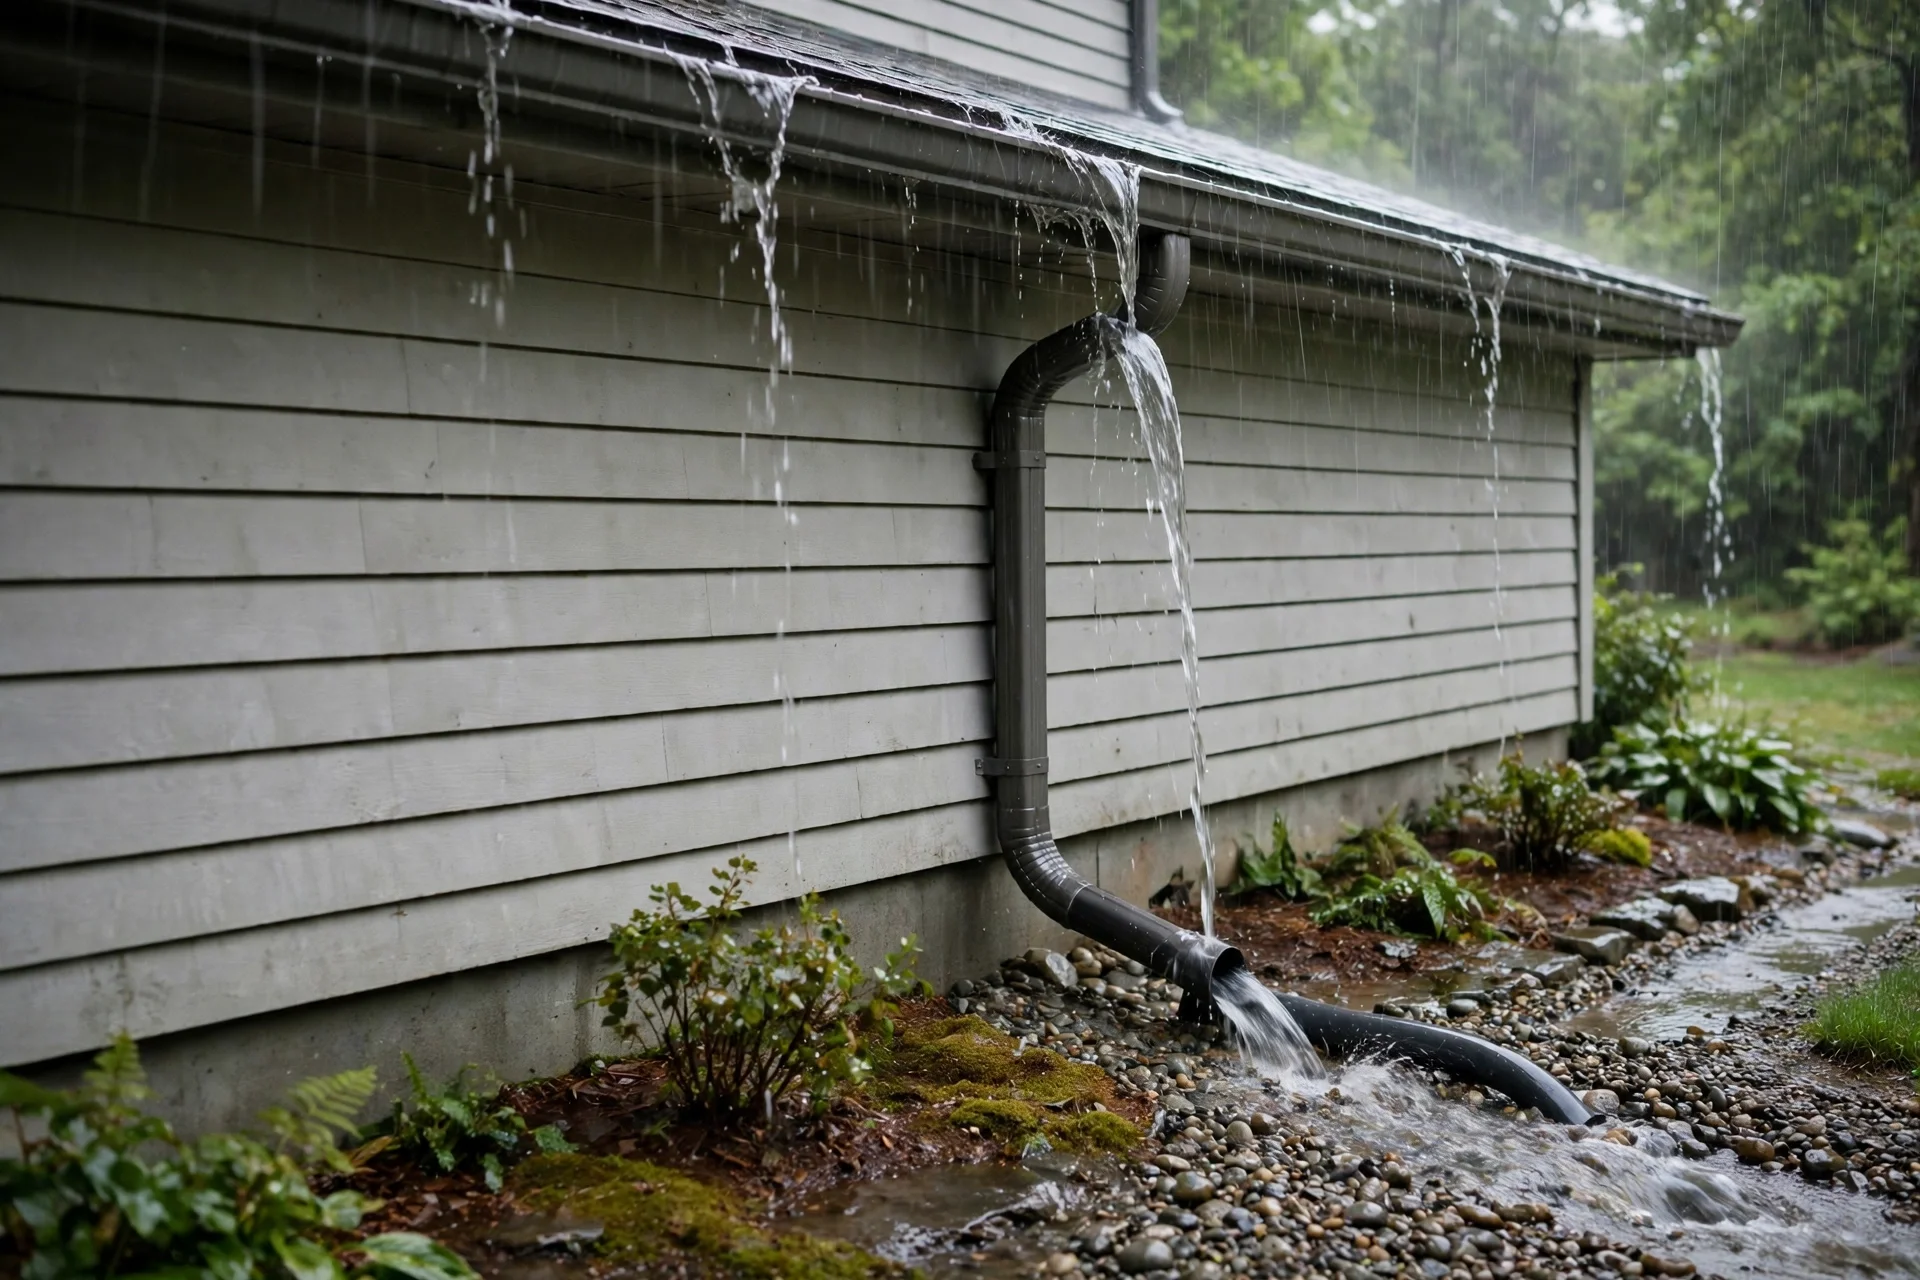
Even a perfectly detailed wall fails if water is allowed to pool at its base. Gutters collect roof runoff and downspouts carry it to the ground, but the job is not finished until the water is discharged well away from the wall — at least four to ten feet, through extensions or underground pipe. Splash blocks alone are rarely enough on a large roof, and a downspout that dumps water beside the foundation soaks the bottom of the wall and the soil under it with every storm.
At ground level, grading should fall away from the wall for at least the first ten feet, and the bottom course of cladding should sit at least six inches above finished grade. Mulch and soil piled against the siding hold moisture against the wall and invite insects and rot. Keep the splash zone clear, keep gutters clean so they do not overflow onto the wall, and check after heavy rain that water is actually leaving the property rather than collecting in a low spot beside the house.
Warning Signs That Rainwater Is Shortening Your Walls’ Life
Walls usually warn you long before they fail structurally. Peeling or blistering paint in bands below windows or trim points to water running behind the coating. Staining, streaking, or green algae growth on one section of wall shows where water concentrates. Efflorescence — white mineral deposits on masonry — means water is moving through the wall and evaporating at the surface. Soft or spongy siding, swollen trim, and rust streaks from fasteners all indicate prolonged wetting.
Inside the house, the signs are subtler: damp spots on interior walls after wind-driven rain, musty smells in a room with an exterior wall, or paint bubbling on an inside wall that backs onto the outside. Any of these deserves a close look at the flashing, the WRB, and the drainage at the base of that wall section, because the longer water stays in the assembly, the more expensive the repair becomes.
Final Thoughts: Rainwater Management That Adds Decades to Exterior Walls
An exterior wall does not need to be waterproof — it needs to be a good water manager. Deflect the rain you can, drain the rain that gets in, dry the assembly between storms, and carry the water away from the base. That is the whole strategy, and it is built from details: an overhang, a drip edge, a continuous WRB, a ventilated cavity, a flashing with an exit, and a downspout that discharges far from the wall. Get those details right during construction or re-cladding, and the walls will outlast the cladding itself; ignore them, and even the best siding will fail early.
Exterior Wall Rainwater Protection FAQs
What is the 4D approach to wall moisture management?
The 4 Ds are deflection, drainage, drying, and durability. Deflection keeps rain off the wall, drainage gives intruding water a path out, drying lets the assembly release moisture between storms, and durability means using materials that tolerate the wetting they will inevitably see. A wall designed around all four lasts far longer than one that relies on a single barrier.
How far above the ground should siding start?
Most building guidance calls for at least six inches of clearance between finished grade and the bottom of wood siding or cladding, and more where splash-back is heavy. This gap keeps the bottom courses out of standing water and splash, reduces insect access, and lets the wall base dry. Soil and mulch should never be piled against the cladding.
Why does paint keep peeling on one section of my exterior wall?
Repeated peeling in the same spot usually means water is getting behind the paint film from inside the wall or from a failed flashing above. Repainting without fixing the water source only repeats the failure. Check the flashing, drip edges, and caulk joints above the peeling area, and look for a missing kick-out flashing where a roof meets that wall.
Can I add a rainscreen to an existing house?
Yes, during a re-cladding project. When the old siding comes off, the WRB can be inspected and repaired, furring strips or a drainage mat installed, and new cladding applied over the gap. It is not a small job, but it is the right time to do it — adding a cavity to an otherwise sound wall can add decades to its service life.
What are weep holes, and why do they matter?
Weep holes are small openings at the base of a masonry veneer wall that let water drain out of the cavity behind the brick. Without them, water collects behind the veneer, saturates the sheathing, and causes rot and efflorescence. They should be kept clear of mortar, paint, and caulk, and their absence is a defect worth correcting.